How to Render Animation in Blender
Blender is a powerful open-source software for 3D modeling and animation. Whether you're a beginner or a professional, Blender allows you to create and render high-quality animations. This article provides a detailed guide on how to render animations in Blender, along with some practical tips to help improve your workflow.
Preparation
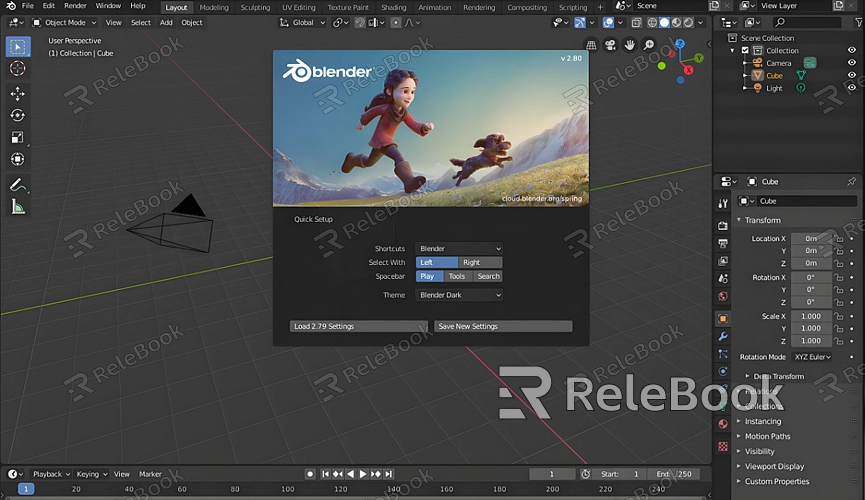
First, ensure that you have the latest version of Blender installed and that your project file is ready. Open Blender and load the animation project you want to render.
Setting Render Parameters
Before you start rendering, you need to configure the render parameters:
1. In the top menu of the Blender interface, click on the “Render” tab.
2. In the render settings, select the “Render Engine.” Blender offers multiple render engines, such as Eevee and Cycles. Eevee is suitable for real-time rendering and is faster, while Cycles provides higher quality rendering but is slower.
3. In the “Output Properties” section, set the frame rate, resolution, and output format. Ensure you choose the appropriate output path to save the rendered animation file.
Adjusting Materials and Lighting
To achieve better rendering results, you need to adjust the materials and lighting in your scene:
1. Select objects in the scene and go to the “Material Properties” panel to set material types and parameters. You can add textures, adjust colors, and tweak reflective properties.
2. In the “Lighting Properties” panel, set the type, position, and intensity of the light sources. Proper lighting can enhance the depth and realism of the scene.
Setting Camera Angle
The camera angle determines the viewing perspective of the final rendered animation. You can adjust the camera angle using the following steps:
1. Select the camera object in the scene, press the “N” key to open the “Transform Tool,” and adjust the camera's position and rotation angle.
2. Preview the camera view through the viewport to ensure it is aligned with the scene you want to render.
Rendering Animation
Once all parameters are set, you can start rendering the animation:
1. In the top menu bar of Blender, click “Render” > “Render Animation.”
2. Blender will render the animation frame by frame and save the results to the specified output path. The rendering process may take some time, depending on the complexity of the animation and your computer’s performance.
Optimizing Render Time
Rendering animations can be time-consuming, but you can optimize the rendering speed with the following methods:
- Use proxy models and lower resolution materials for preview renders, and perform high-quality rendering only after confirming the scene’s appearance.
- In the render settings, reduce the number of light bounces and sampling rates to significantly decrease render times.
- If using the Cycles render engine, enable GPU rendering to leverage your graphics card’s processing power and speed up rendering.
Troubleshooting Common Issues
During the rendering process, you might encounter common issues:
- Black screen in the render output: Check the camera and lighting settings to ensure the camera is aimed at the scene and there is adequate lighting.
- Excessive render time: Optimize the scene’s geometry complexity and reduce unnecessary high-resolution textures and material effects.
If you need high-quality 3D textures, HDRIs, or downloadable 3D models for your projects, you can get them from Relebook. After downloading, simply import the textures and 3D models into your project for immediate use.
By following these steps, you can easily render high-quality animations in Blender. Whether for personal projects or commercial use, Blender offers robust features and a flexible workflow to meet your needs.
